How to send a Notification
Directus has the ability to notify users through Flows. This will appear to the user as a red dot near the bell icon with the number of unread messages and also be sent via email. This article will show you how to configure Flows to send notifications.
To send a notification, you will need to create a workflow in Flows with the desired trigger, then fetch or specify the recipient(s) and compose the notification. When this workflow is triggered, the notification will be sent to the recipient.
Notifications can be a powerful communication tool or become a constant annoyance to the recipiants. So the first question to ask is Do I really need this? and if so, When is the best time to send this?
Flows in Directus can help. You can introduce intelligent routing to send notifications at important points in your workflow and ensure the message is sent at the right moment. This is where the status field comes in handy.
A status field can hold as many states as you require and is the perfect parameter to use to target notifications. Let's create a basic notification in Flows using the status field to route notifications.
Step 1: Recipients
To send notifications, you will need to have users in Directus. First make sure to create user accounts and note down their IDs. This can be seen in the URL when viewing their profile and will look something like this:
a12bc3d-e4fg-5678-9012-34h5678ij90kAnother way is to send the notification to all the users that are assigned to a role in Directus. For this, you will need the role ID. To get the role ID, open Settings by clicking the Cog icon, then go to Roles & Permissions. Click on the role and copy the role ID from the URL. This will be formatted the same as the User ID above.
Step 2: Create a Trigger
To begin, click on the cog icon to open the settings, then click Flows. Create a new flow to open the trigger options window.
Name the flow accordingly and move onto the Trigger Setup. I'm wanting to trigger my workflow from within Directus so I'll use an Event Hook.
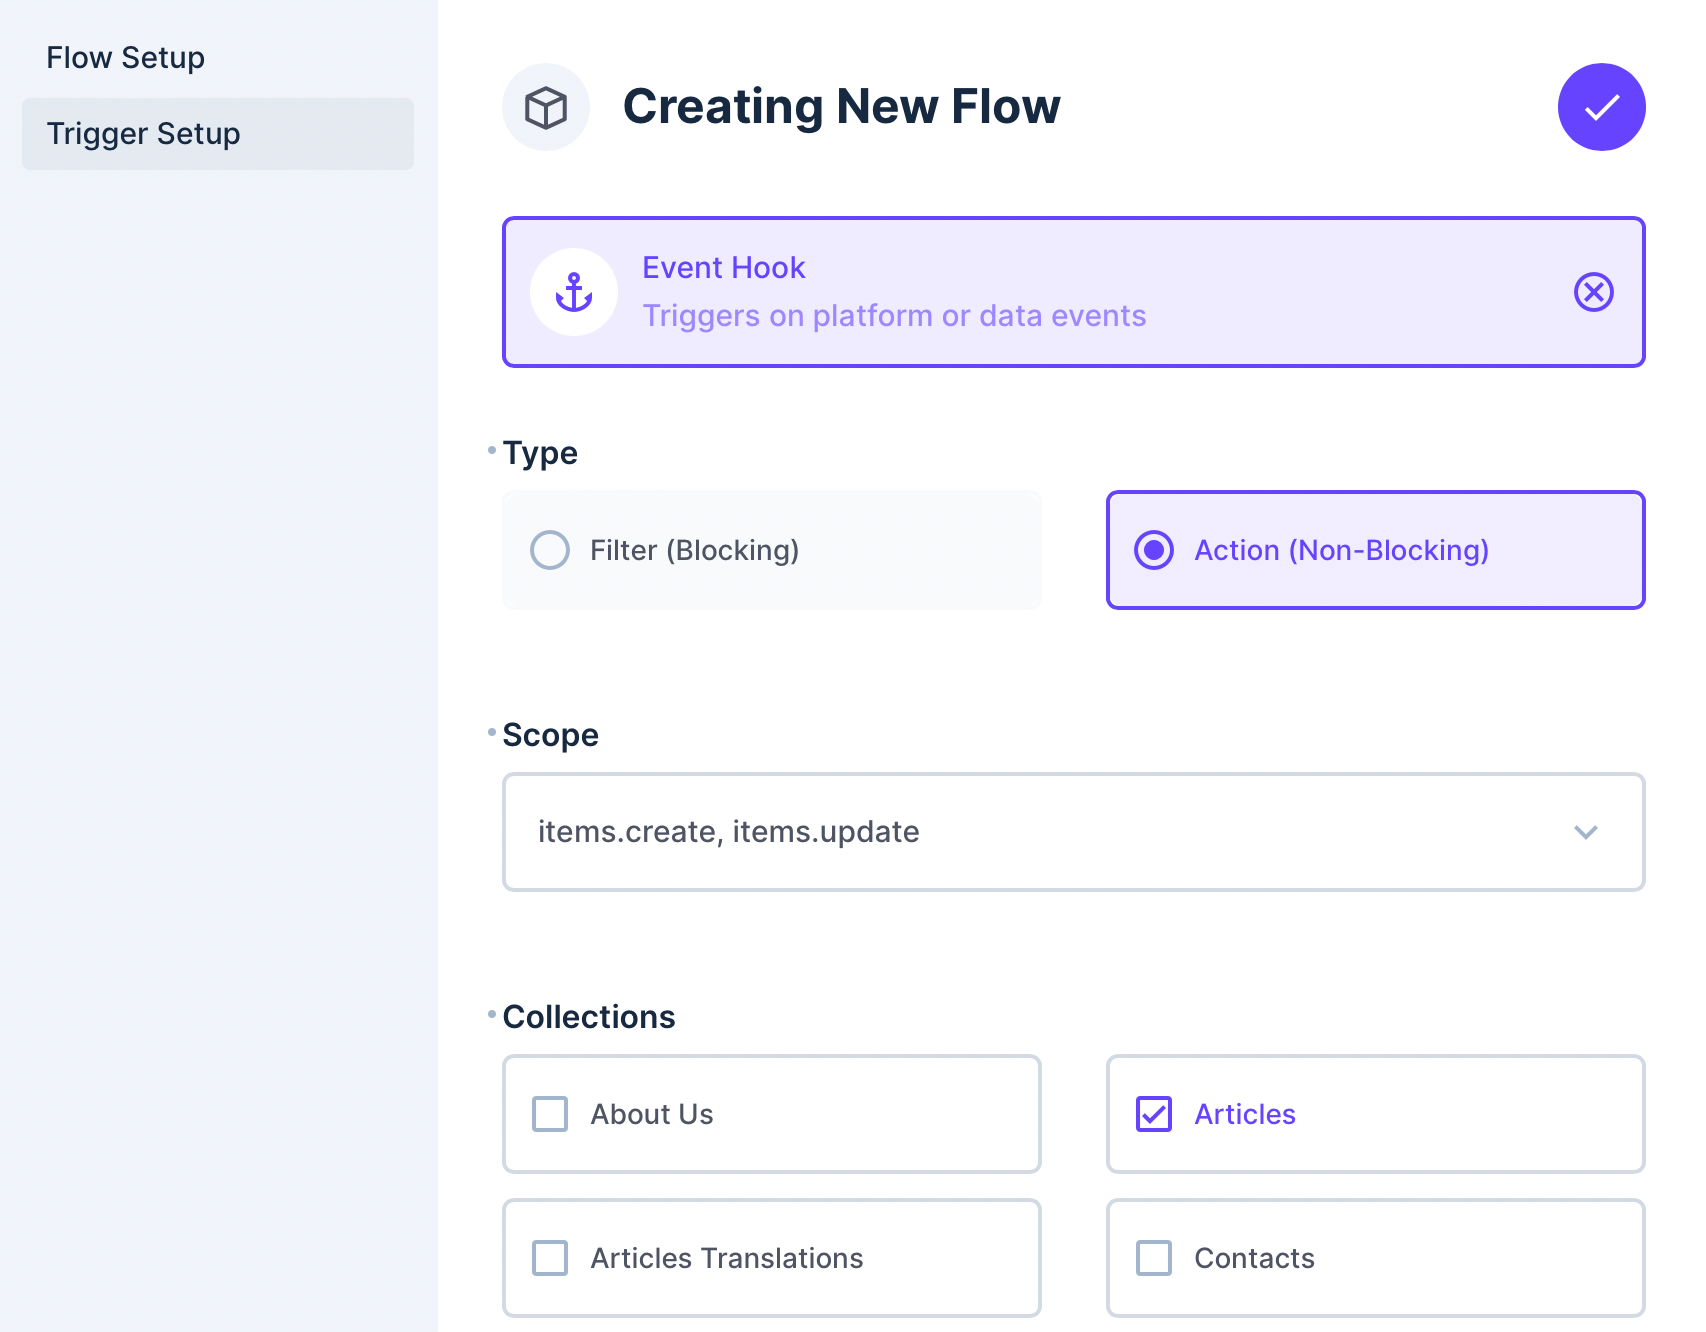
I've chosen to set the scope to items.create and items.update to capture all events when something is created or updated in my collection.
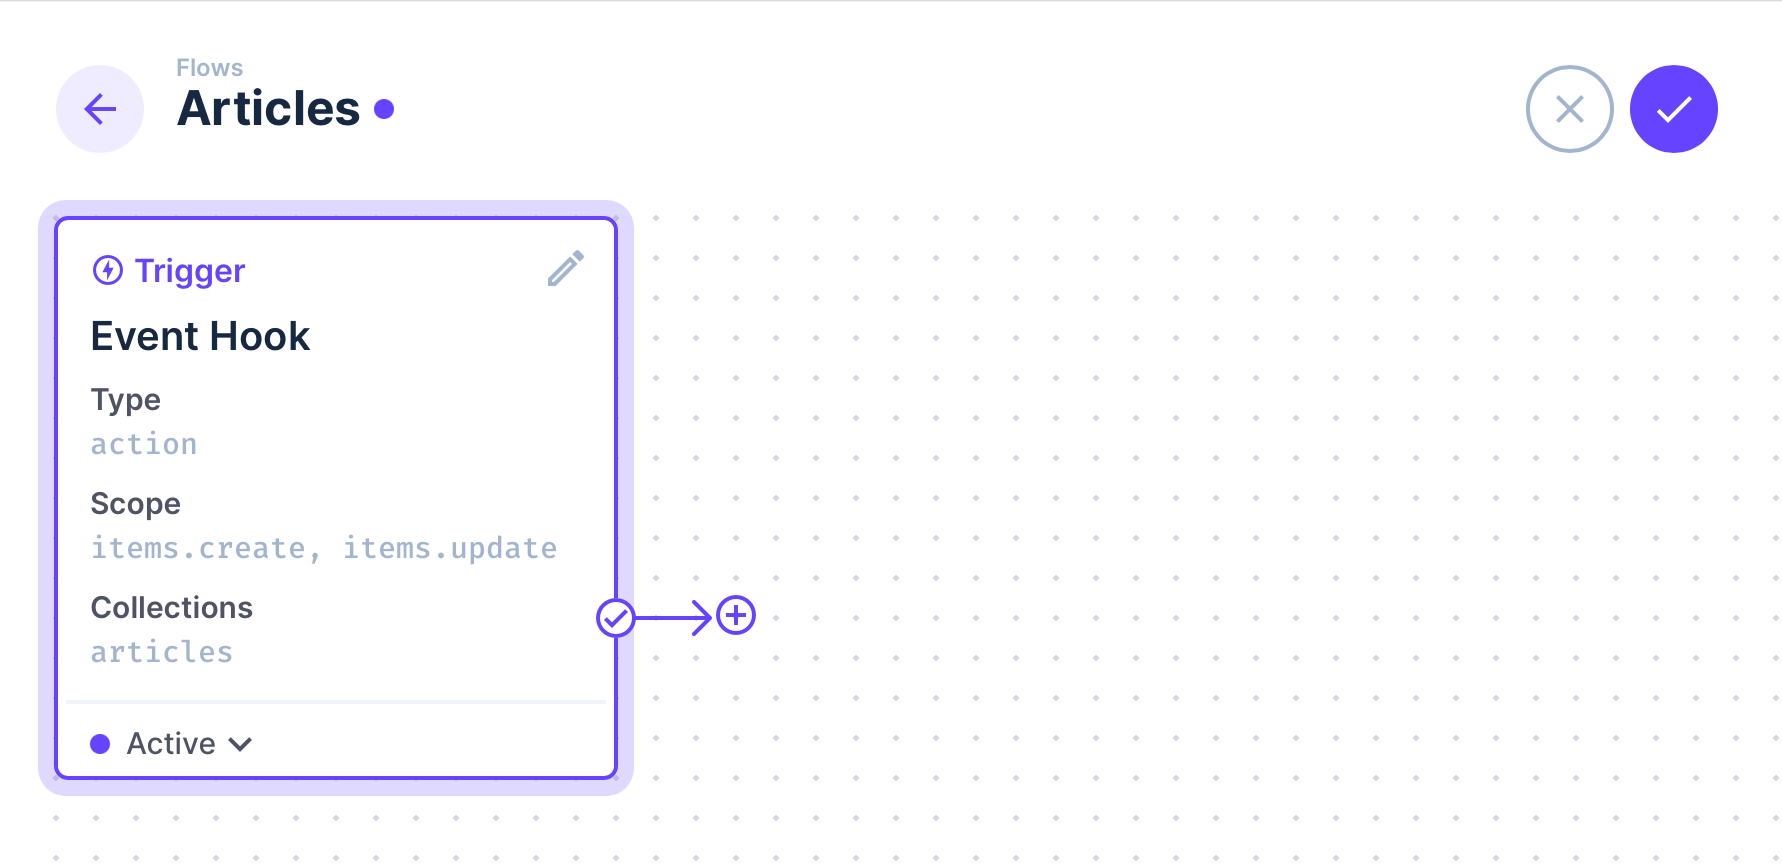
Now I have my canvas for creating my workflow.
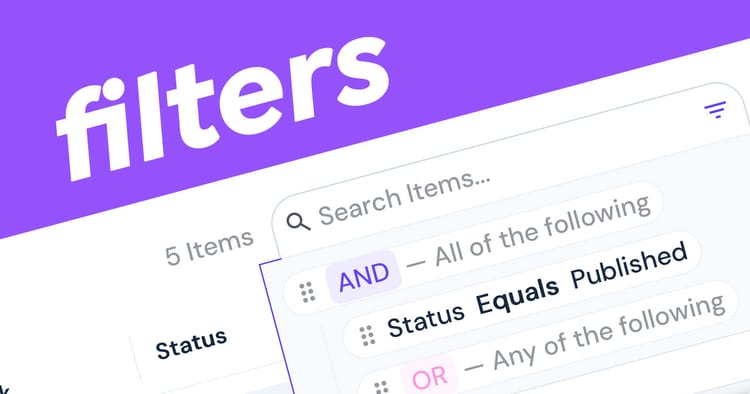
Step 3: Filters
Next, use a filter for the incoming events to bring context to the notification. For this example, I'm wanting to notify my recipients when a record is requesting approval. I will use a status that I created called "Request Approval".
Click the (+) and choose Condition. Give it a memorable name and create a filter on the $trigger.payload.status.
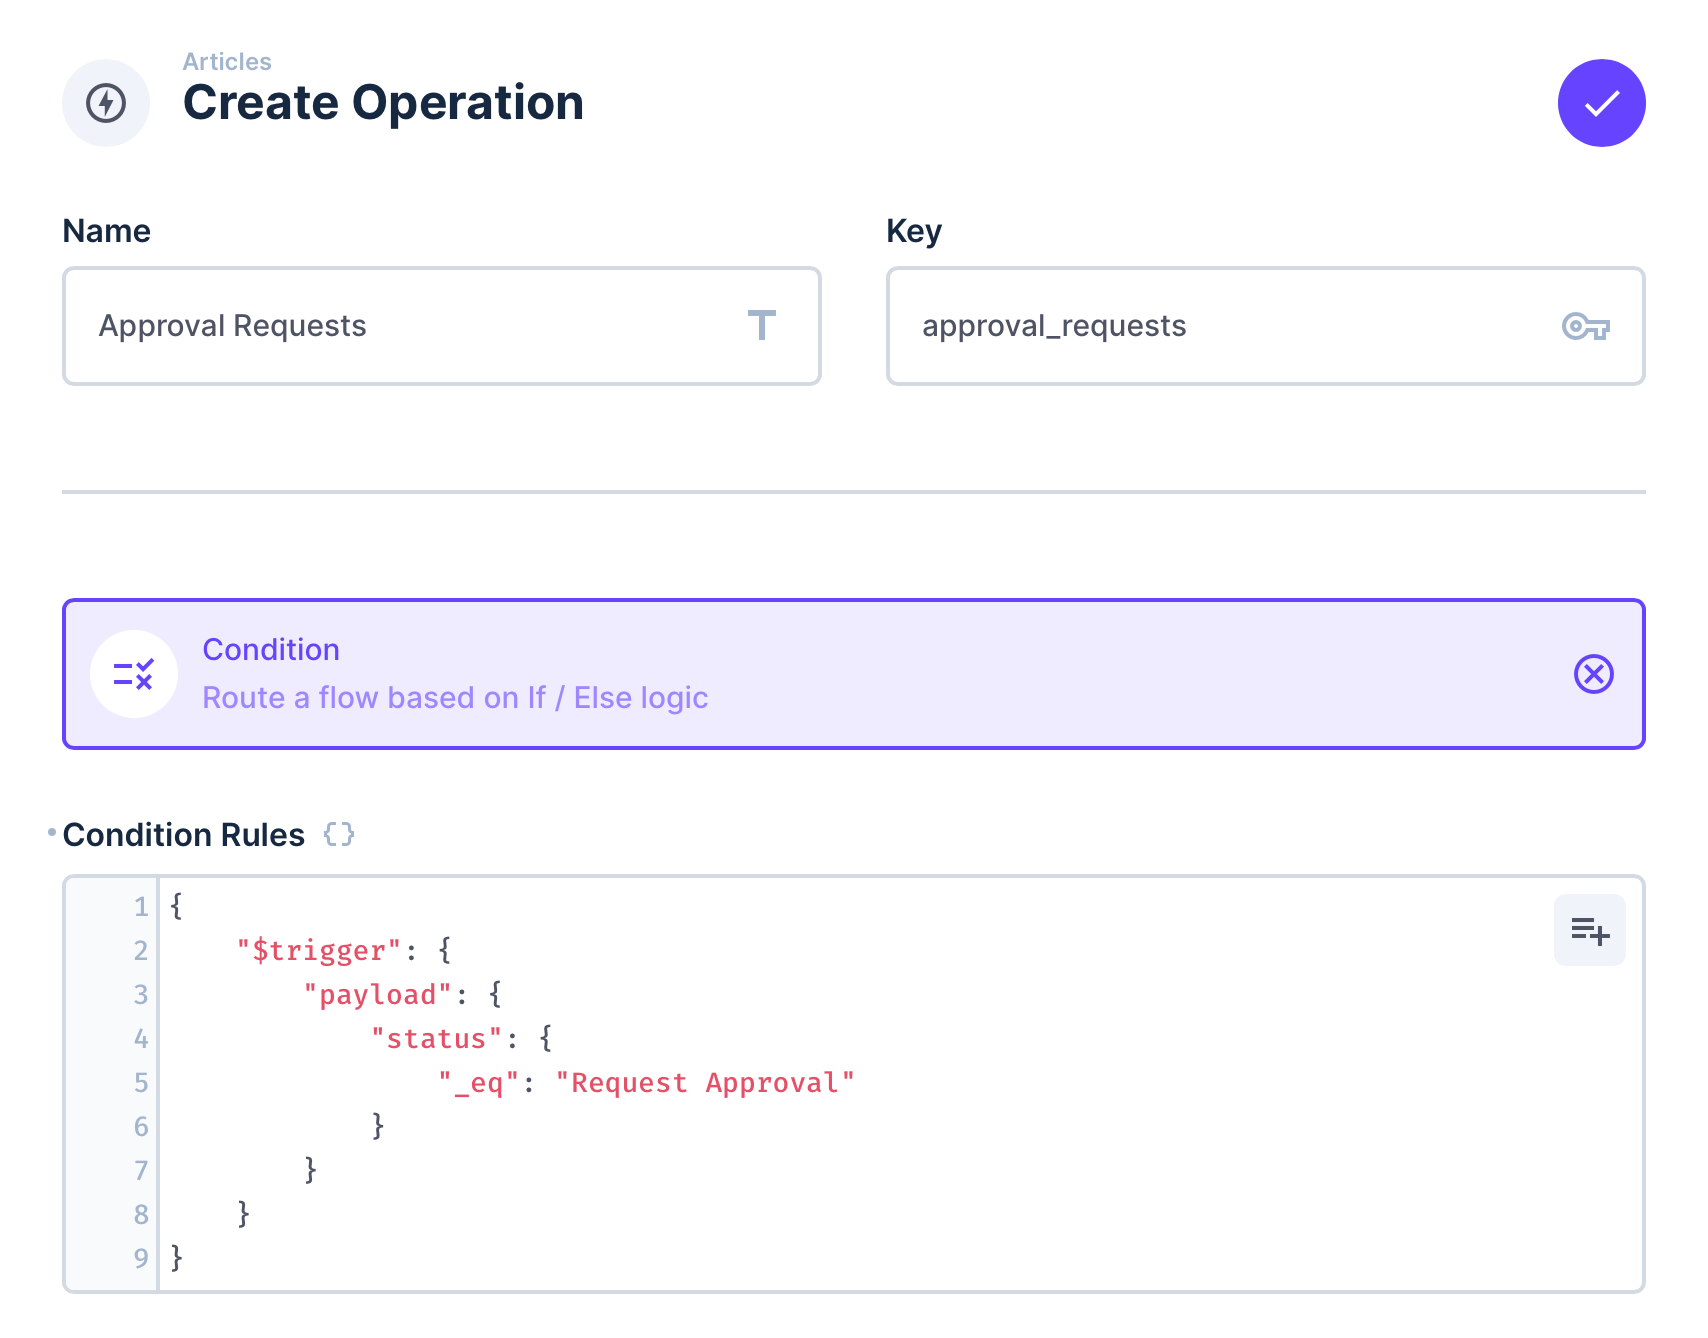
In the example above I've added a filter on the status value. This follows the same filter rules from the documentation. The absense of the status field or a status that is not "Request Approval" will follow the false route in this example. If needed, you can build actions in the false route as well. This is the code to use in the Condition Rules.
{
    "$trigger": {
        "payload": {
            "status": {
                "_eq": "Request Approval"
            }
        }
    }
}
The $trigger parameter contains the payload, collection and key as the item ID (or keys as an array list when triggered by items.update). The payload will only contain the fields submitted when saving the record.
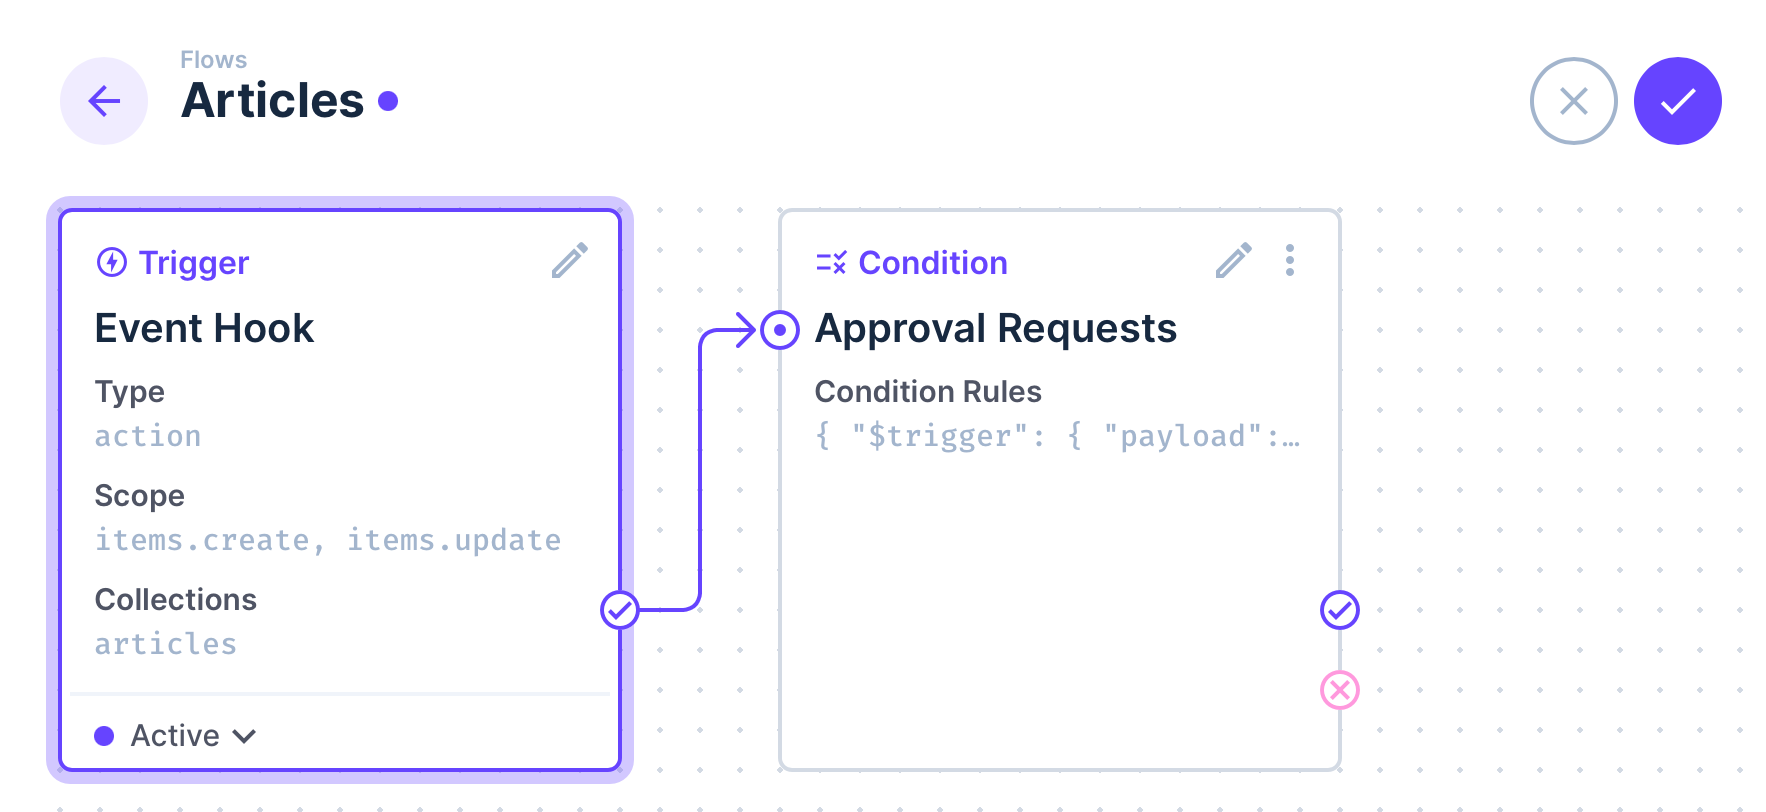
Now the condition is in place. You'll notice there is now a Tick and Cross attached to this card. The tick is the positive/true response route and the cross is the negative/false route.
Step 4: Send the Notification
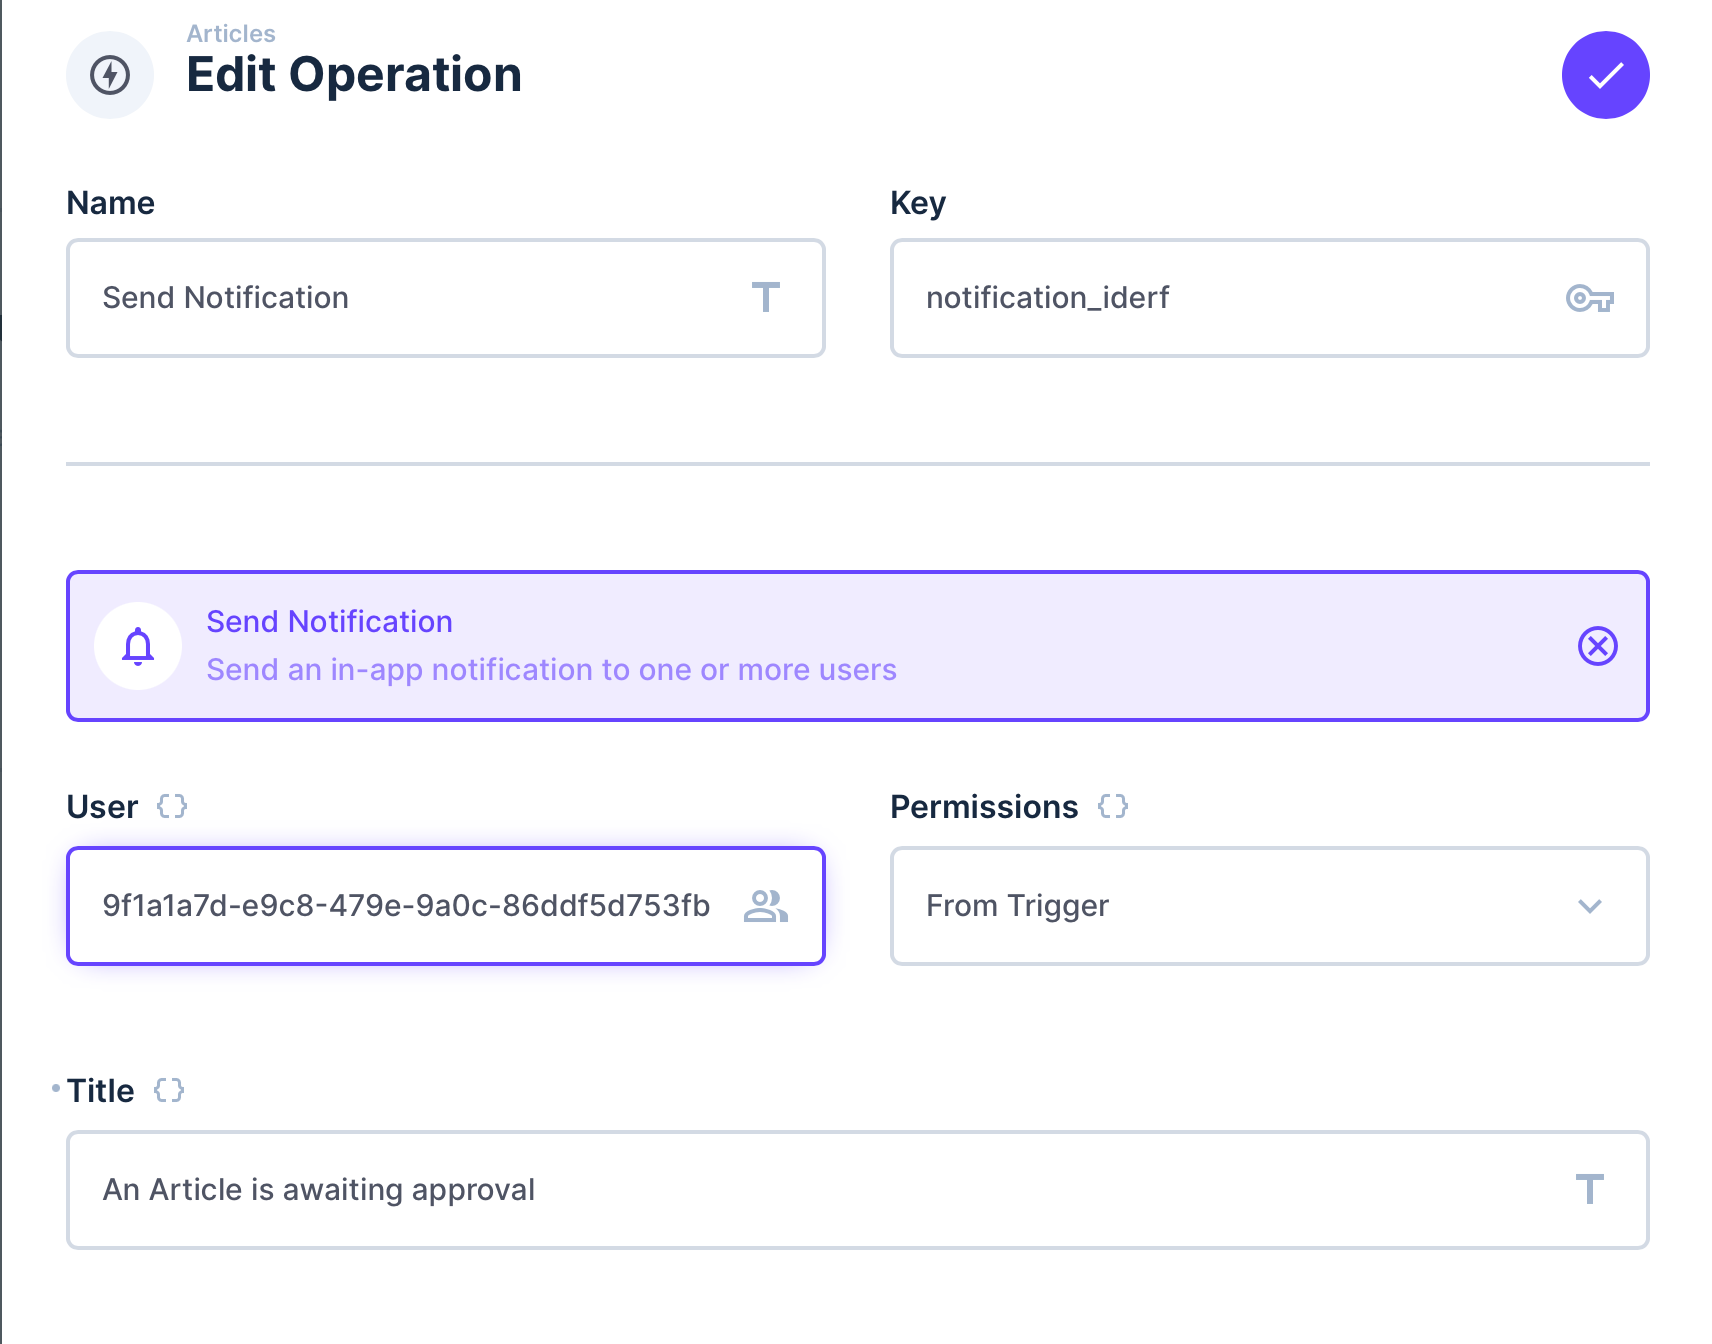
Click the tick to create a new step in the workflow. Paste the user ID of the recpient and a title for the notification.
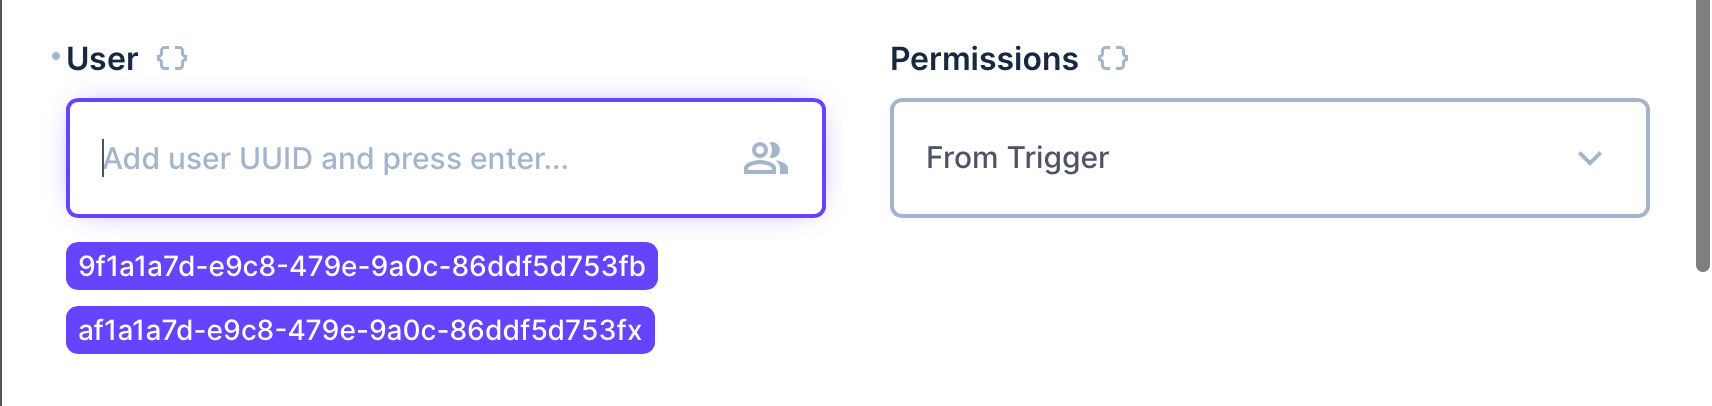
You can add multiple recipients by copy and pasting more user IDs and pressing enter. They will appear in a list under the field.
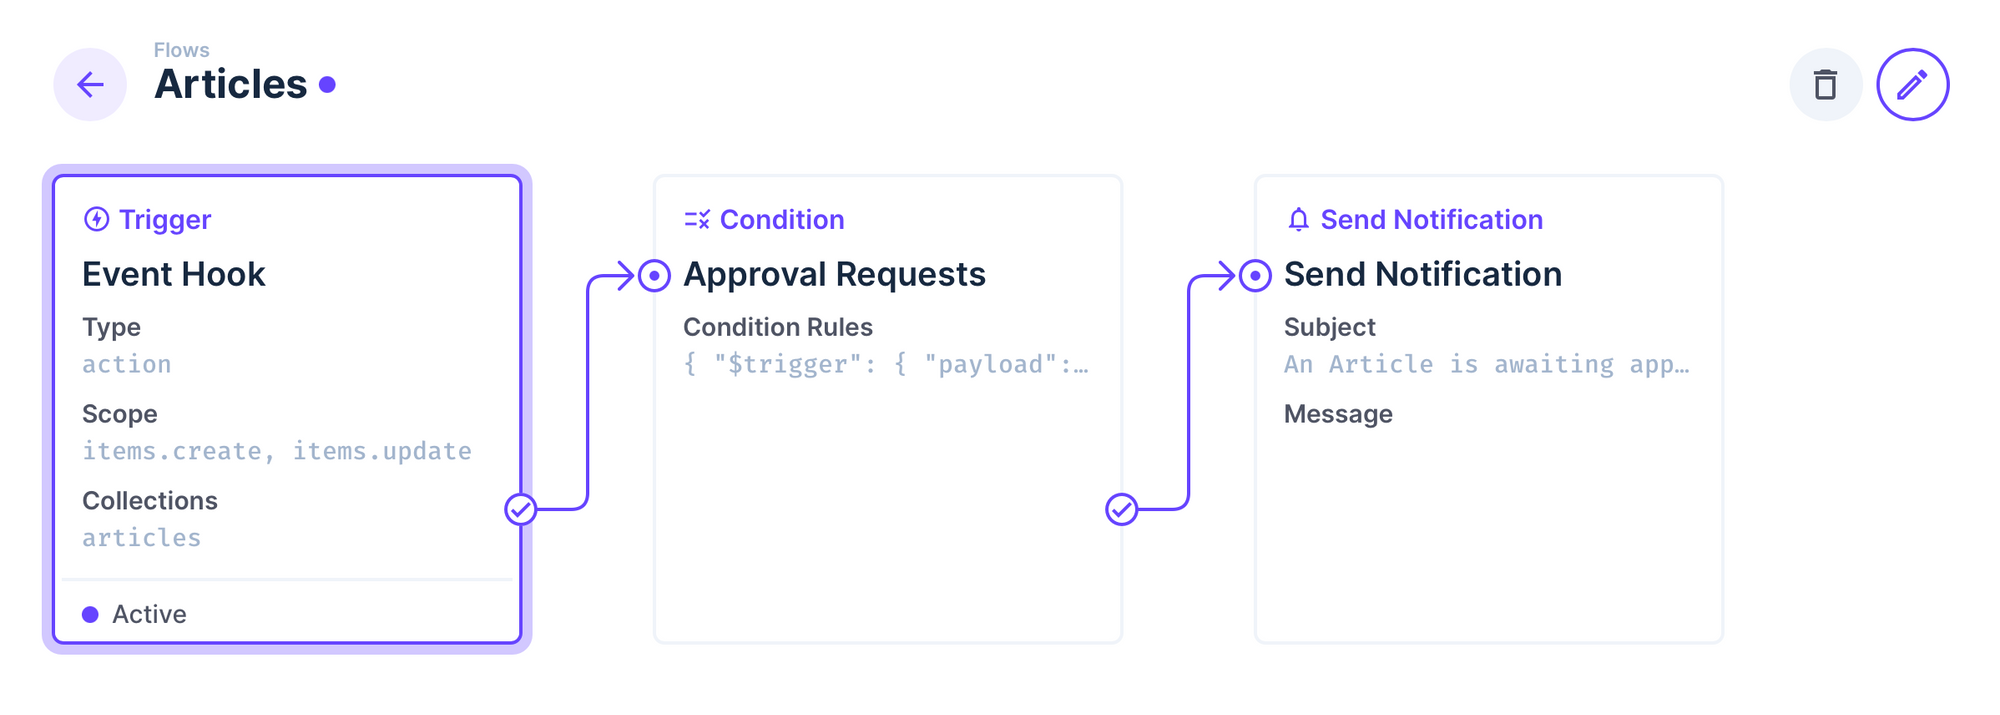
Now our workflow is looking more complete.
Step 5: Testing and Troubleshooting
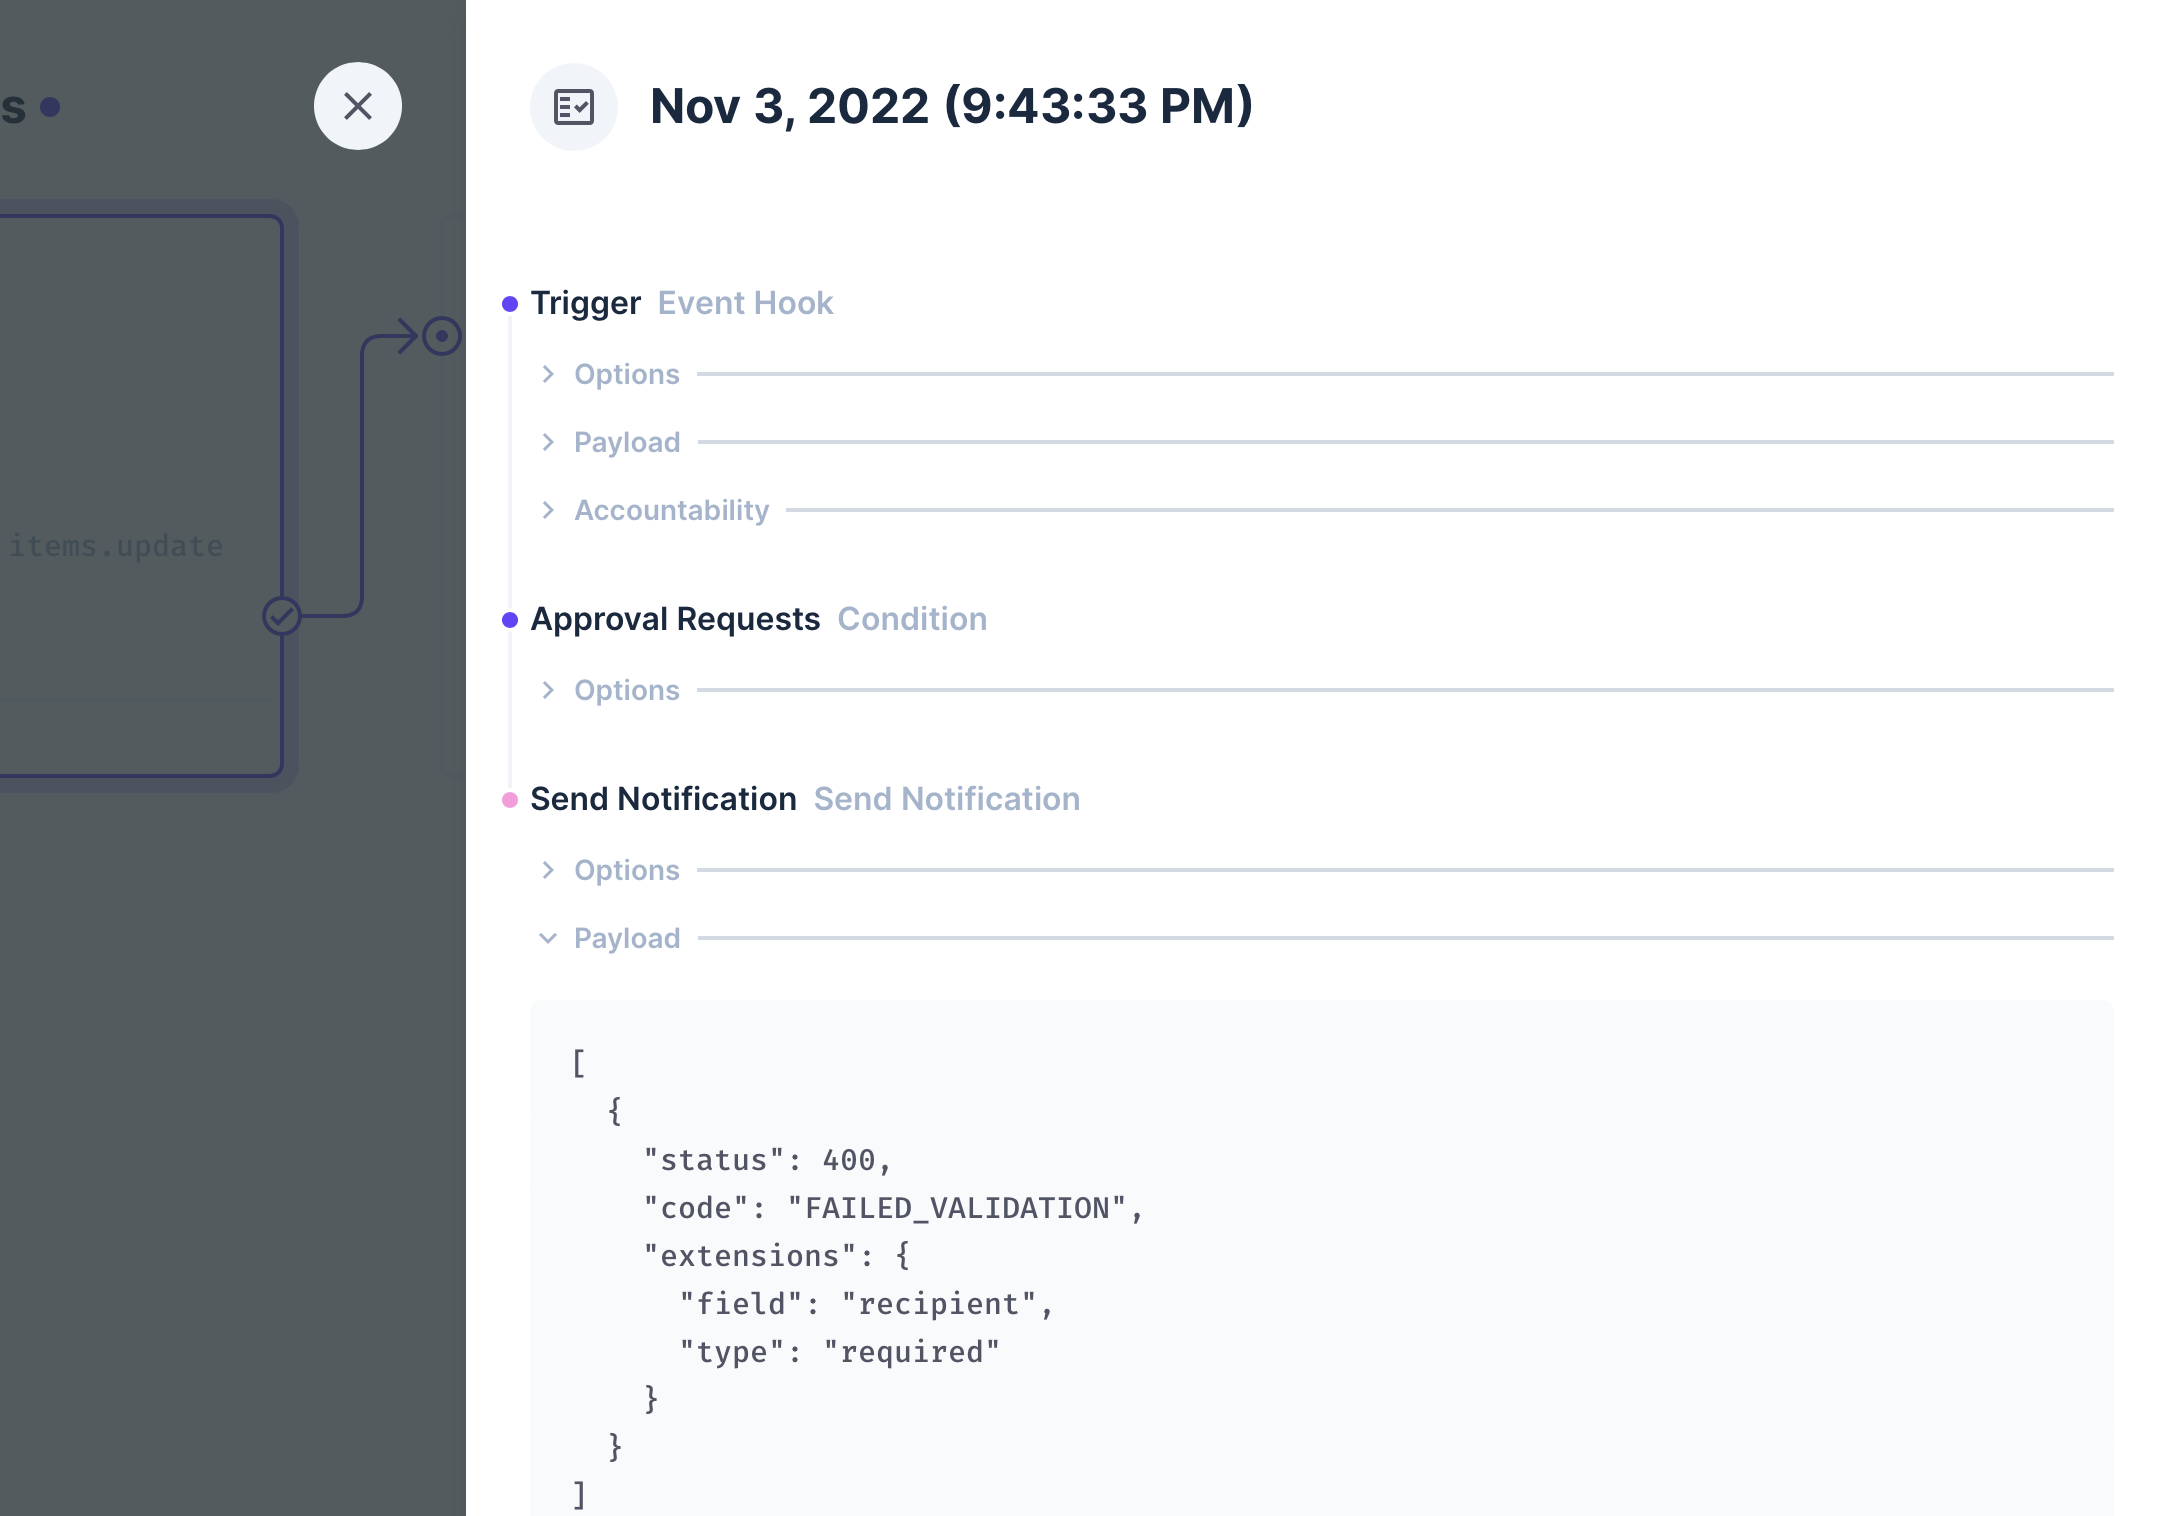
Now that the workflow is in place, try performing the action that triggers the flow. In this case, I will change an article status to 'Request Approval'. If nothing happens, then you can check the workflow's log. Open the flow and look into the right-hand side bar. There is a section labelled Logs. It might take a minute or so to appear. Click the time point that matches your action.
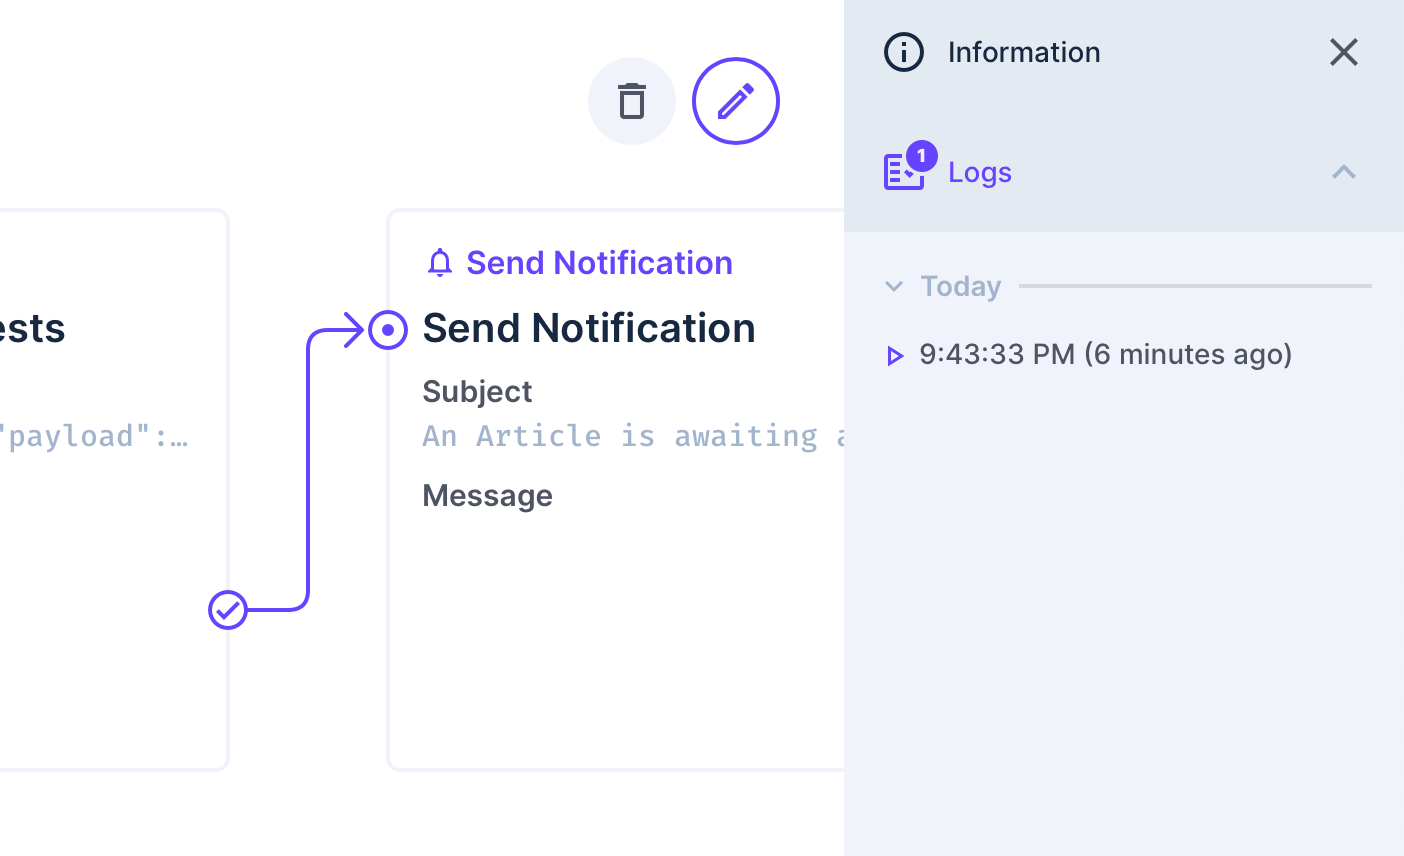
The log is grouped into each step with a colored bullet point to indicate if it was successful. Purple is successful, red (or pink) is a failed step. In the screenshot below, I've expanded the payload to reveal the API response. In this case, the recipient field was left empty blank.
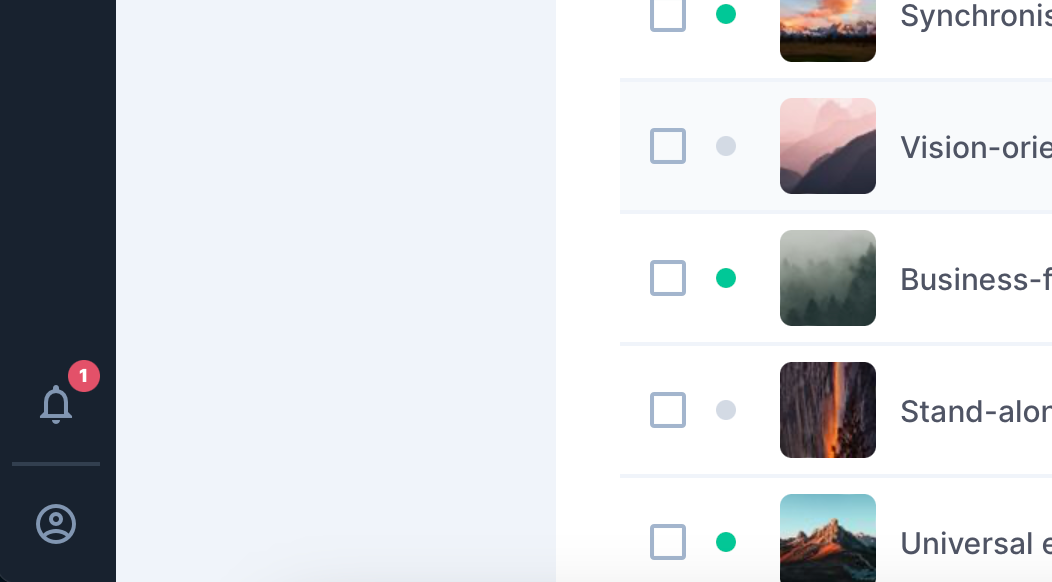
If the notification is successful, the recipient will get a little red notification in the bottom corner of their screen.
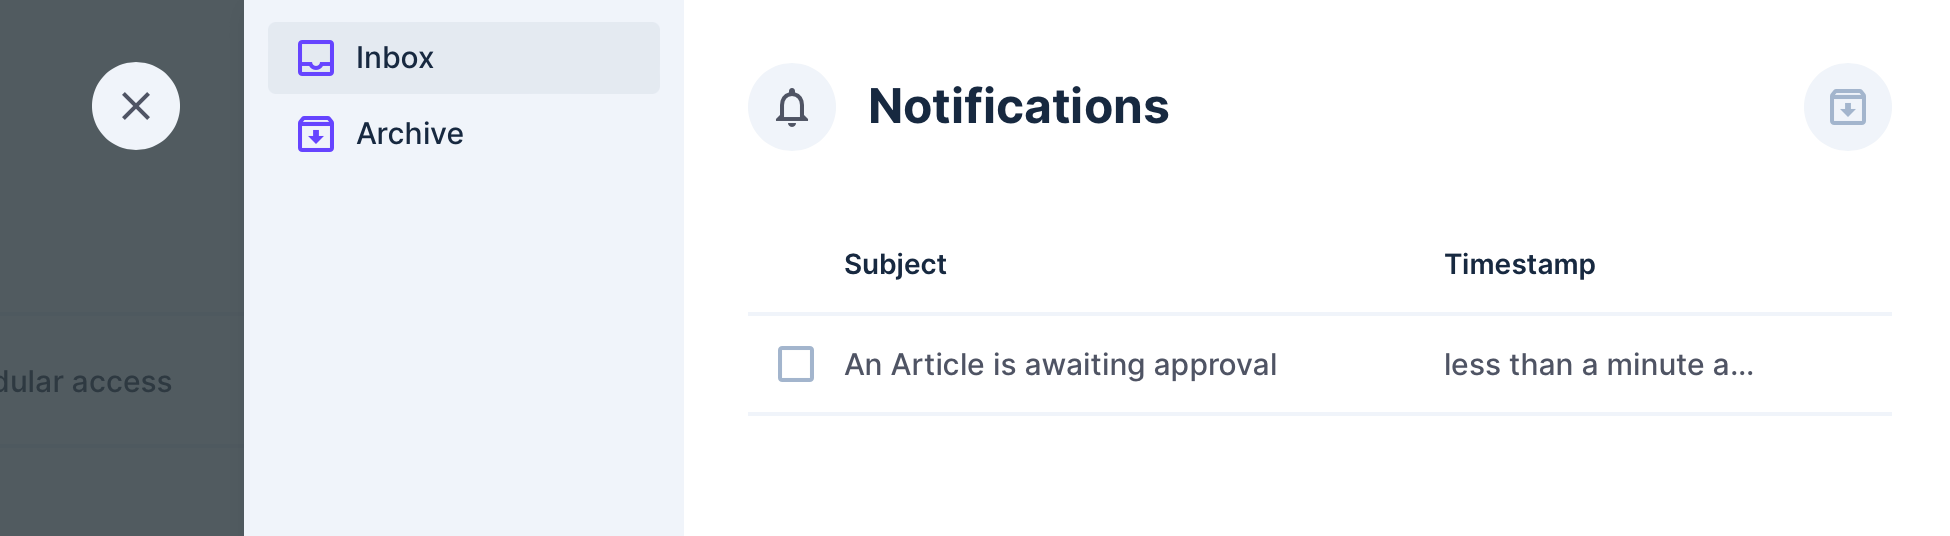
Clicking on the bell will open the notification inbox.
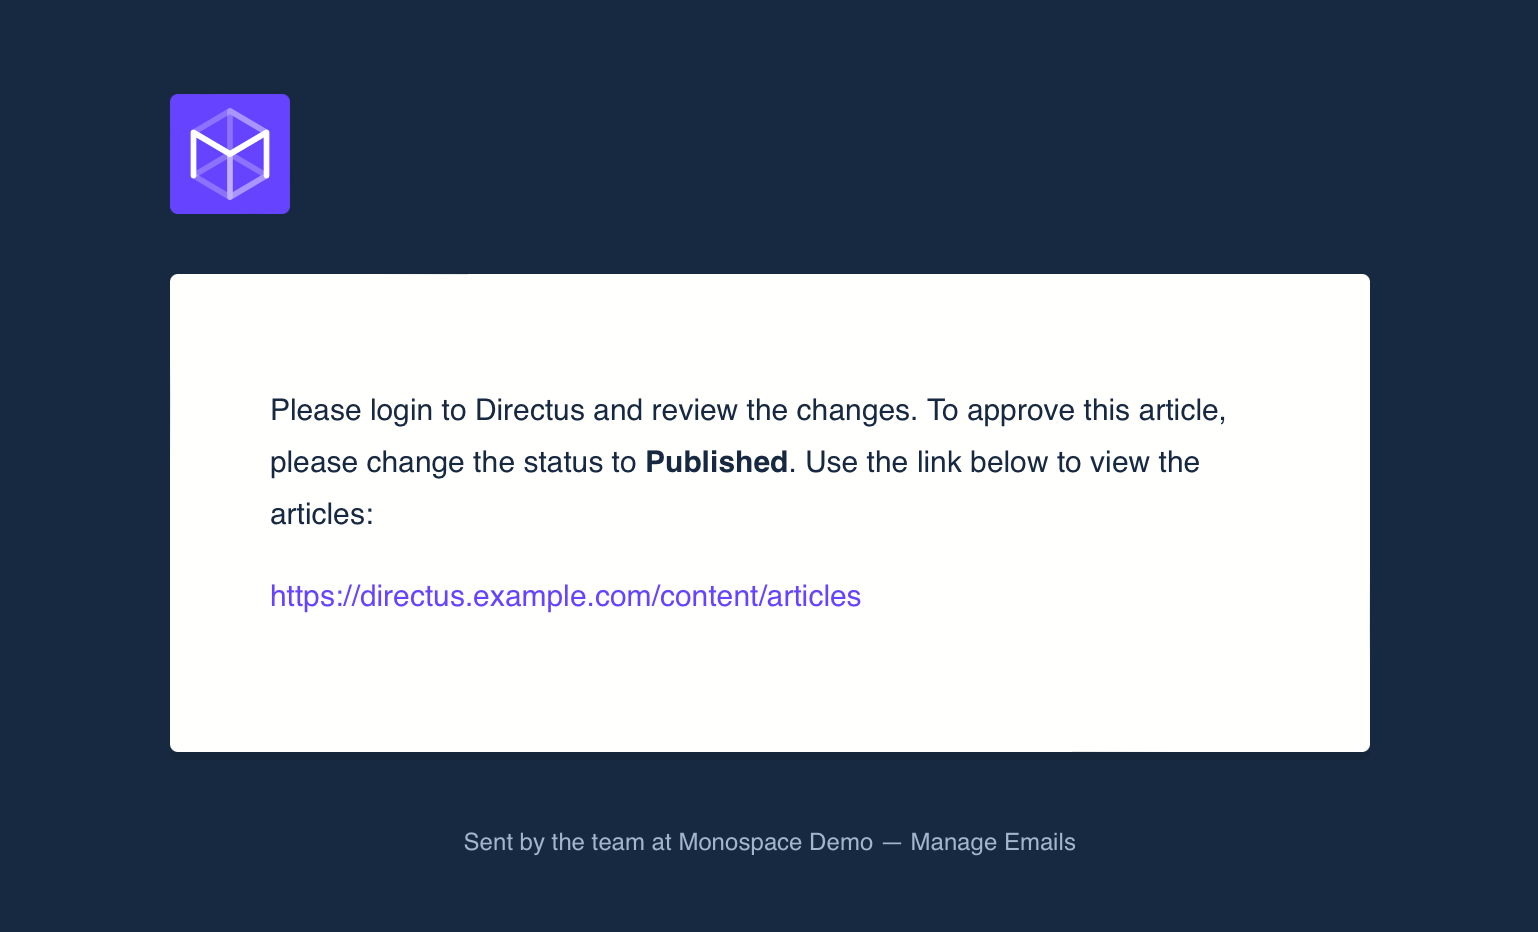
An email is also sent to the recipient's email address where the notification Title is the email subject and the notification Message is within the email body using a nice email template. Here is an example of the email template. The logo at the top will be your registed logo in Directus and the sign off message at the bottom will use your project name.
Conclusion
In this article I have demonstrated how to create a workflow using Flows to send notifications to your Directus users. This can be repeated for any other collections or you can include multiple collections in your trigger if relevant. There is the temptation to expand the data flow to include more information such as links, names, content etc. This is possible but in my experience, this can cause more issues than it's worth. Simplicity is best.