4 Essential Steps after Installing Directus

So you've just installed Directus and wondering what's next? I've gathered the 4 essential steps in the article below.
1. Configure Email Settings
This is really important, without adding the email settings, user's will not receive any emails from Directus including password reset tokens. In your project folder is the configuration file called .env. Edit this file using the following command.
vim /path/to/your/project/.envNear the bottom, you'll see the MAIL_TRANSPORT setting, change this to smtp and add the missing parameters listed below.
EMAIL_FROM="[email protected]"
EMAIL_TRANSPORT="smtp"
EMAIL_SMTP_HOST="smtp.example.com"
EMAIL_SMTP_PORT="587"
EMAIL_SMTP_USER="username"
EMAIL_SMTP_PASSWORD="password"
As for the SMTP settings, you can sign up with a smtp provider such as:
- SendinBlue (Free up to 300 emails per day)
- MailerSend (Free up to 12,000 per month)
- Moosend (30 day free trial)
These have a free tier but check if the monthly volume is enough. If you want to start email marketing, these platforms will grow with you. Moosend in particular has an excellend online builder so you don't need to worry about coding emails. Once you have an account, obtain the smtp settings and credentials. I recommend you integrate your domain name so you can send emails from your own domain and they get digitally signed so they won't go to spam. Some organisations will have a dedicated SMTP server or Saas, please speak to your IT team for the details.
2. Create a Service for Directus
So you have installed Directus on your server or local computer and run the npx command, what comes next? When you close your terminal session, Directus closes as well. What you need to do is create a background service.
Create a New Service
Create a new service using the following command:
vim /etc/systemd/system/directus.servicePaste the following code into the editor and replace User and the Working Directory
[Unit]
Description=Directus 9
After=network.target
StartLimitIntervalSec=0

[Service]
WorkingDirectory=/path/to/directus/project
Type=simple
Restart=always
RestartSec=1
User=webuser
ExecStart=npx directus start

[Install]
WantedBy=multi-user.target
Save the changes and close. For those unfamiliar with vim, make sure you are out of the editing mode by pressing ESC, then type :wq and press ENTER.
Start the new service
Type the following command to start the new service.
systemctl start directusAdd the service to system startup
Type the following command and your service will start on system boot.
systemctl enable directusIt's now safe to close your terminal. You can confirm if Directus is running by using this command:
systemctl status directusThis will output the most recent logs.
Now that the background service is running, you can continue to access Directus after you close your session.
3. Connect Nginx to Directus
We now have Directus running as a service and is accessible locally via 127.0.0.1:8055 assuming it's the default port. If you need to change the port, it's under the .env configuration file in the root of your project folder.
Create a new Nginx config file:
vim /etc/nginx/conf.d/directus.example.com.confCopy and Paste the following template and replace the server_name and proxy_pass port with your details. You will also need to supply your SSL configuration. If you don't need SSL, remove the listening port 443 line.
server {
    listen 80;
    listen 443 ssl http2;
    server_name directus.example.com;

    # Include your SSL details here #

    location / {
        proxy_pass http://127.0.0.1:8055;
        proxy_set_header Host $host;
        proxy_set_header X-Real-IP $remote_addr;
        proxy_set_header X-Forwarded-For $proxy_add_x_forwarded_for;
        proxy_set_header REMOTE-HOST $remote_addr;
        add_header X-Cache $upstream_cache_status;

        proxy_connect_timeout 30s;
        proxy_read_timeout 86400s;
        proxy_send_timeout 30s;
        proxy_http_version 1.1;
        proxy_set_header Upgrade $http_upgrade;
        proxy_set_header Connection "upgrade";
    }

    access_log  /var/log/nginx/directus.example.com.log;
    error_log  /var/log/nginx/directus.example.com.error.log;
}
Save and close your configuration file. If you are unfamilar with vim, make sure to exit the editor mode by pressing ESC, the type :wq and press ENTER.
Test your nginx configuration using:
nginx -tIf unsuccessful, the output will say where the error occured. Address any issues and repeat.
Restart Nginx to apply the changes.
service nginx restartYou can now access Directus from your domain name (assuming the DNS is configured and port 80 and 443 are open on the firewall).
403 Gateway Issue
Are you getting the 403 Gateway issue? This means your nginx configuration is trying to load the proxy address 127.0.0.1:8055 and there is nothing running. Make sure your Directus project has been started, the port is correct or the service is running.
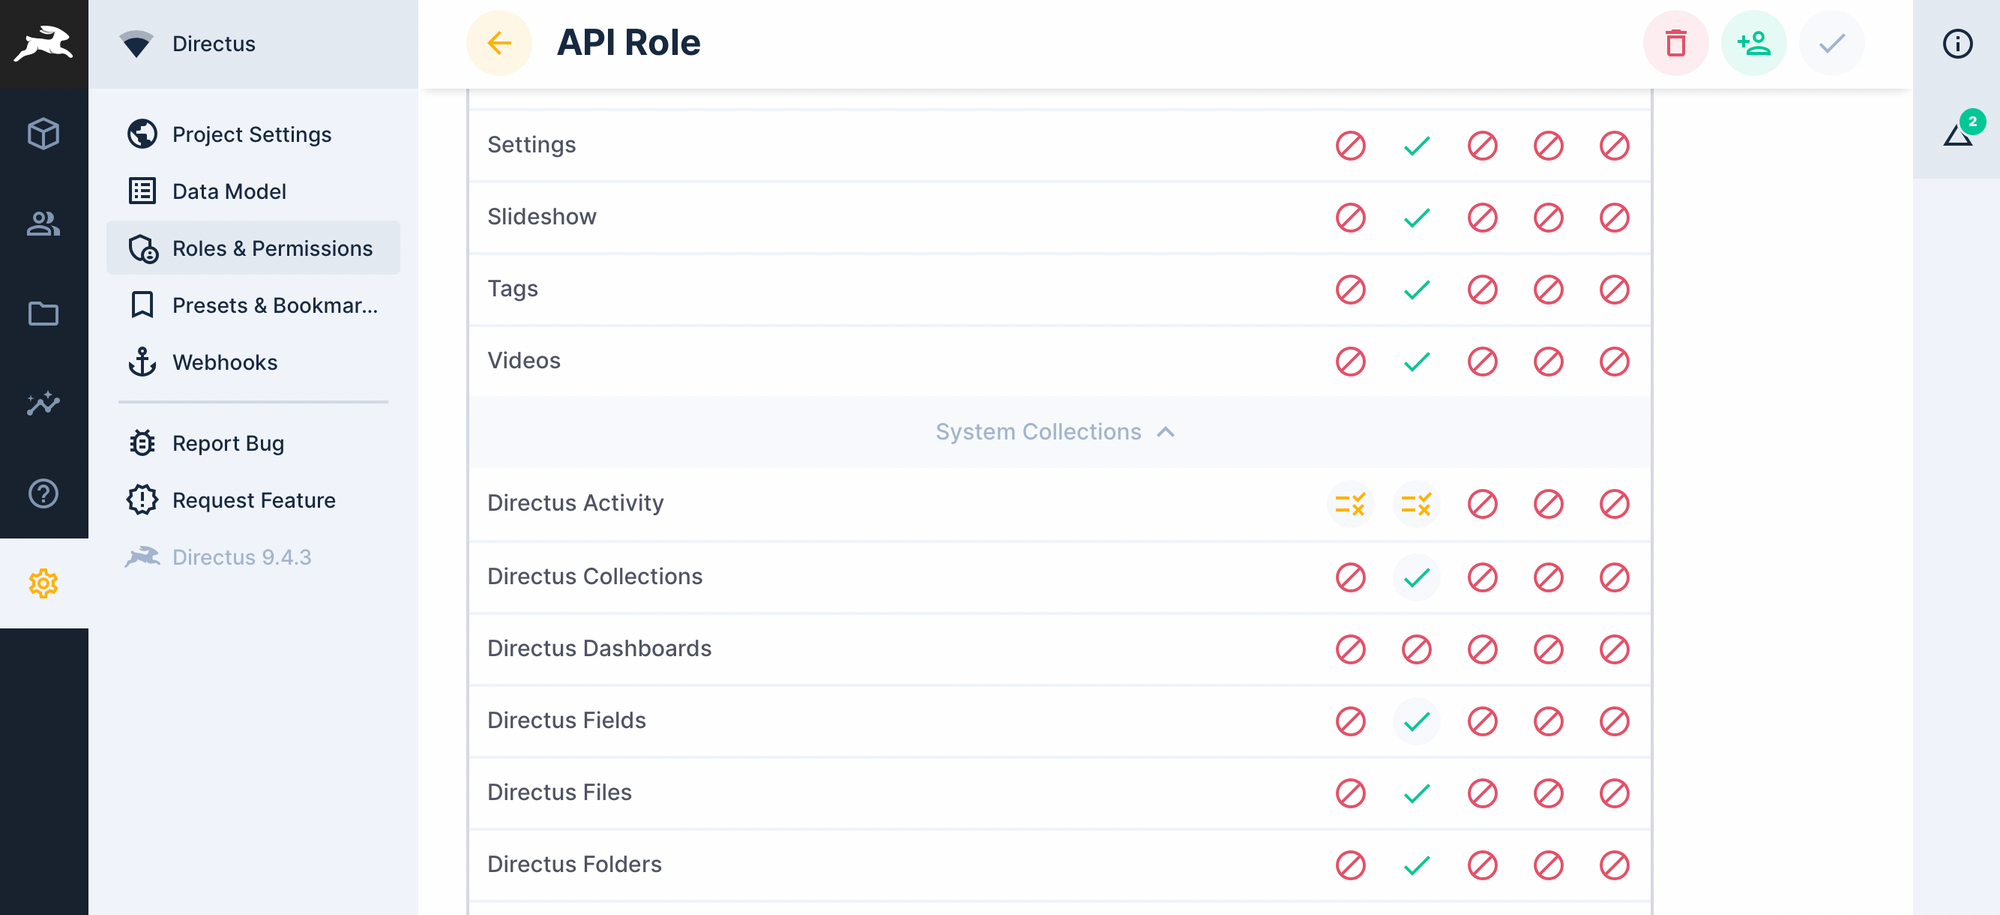
4. API User
To use the API, you will need to create a new role. With this role, you can specify exactly what access your application needs from Directus. Note, any new collections will default as No Access for the API role.
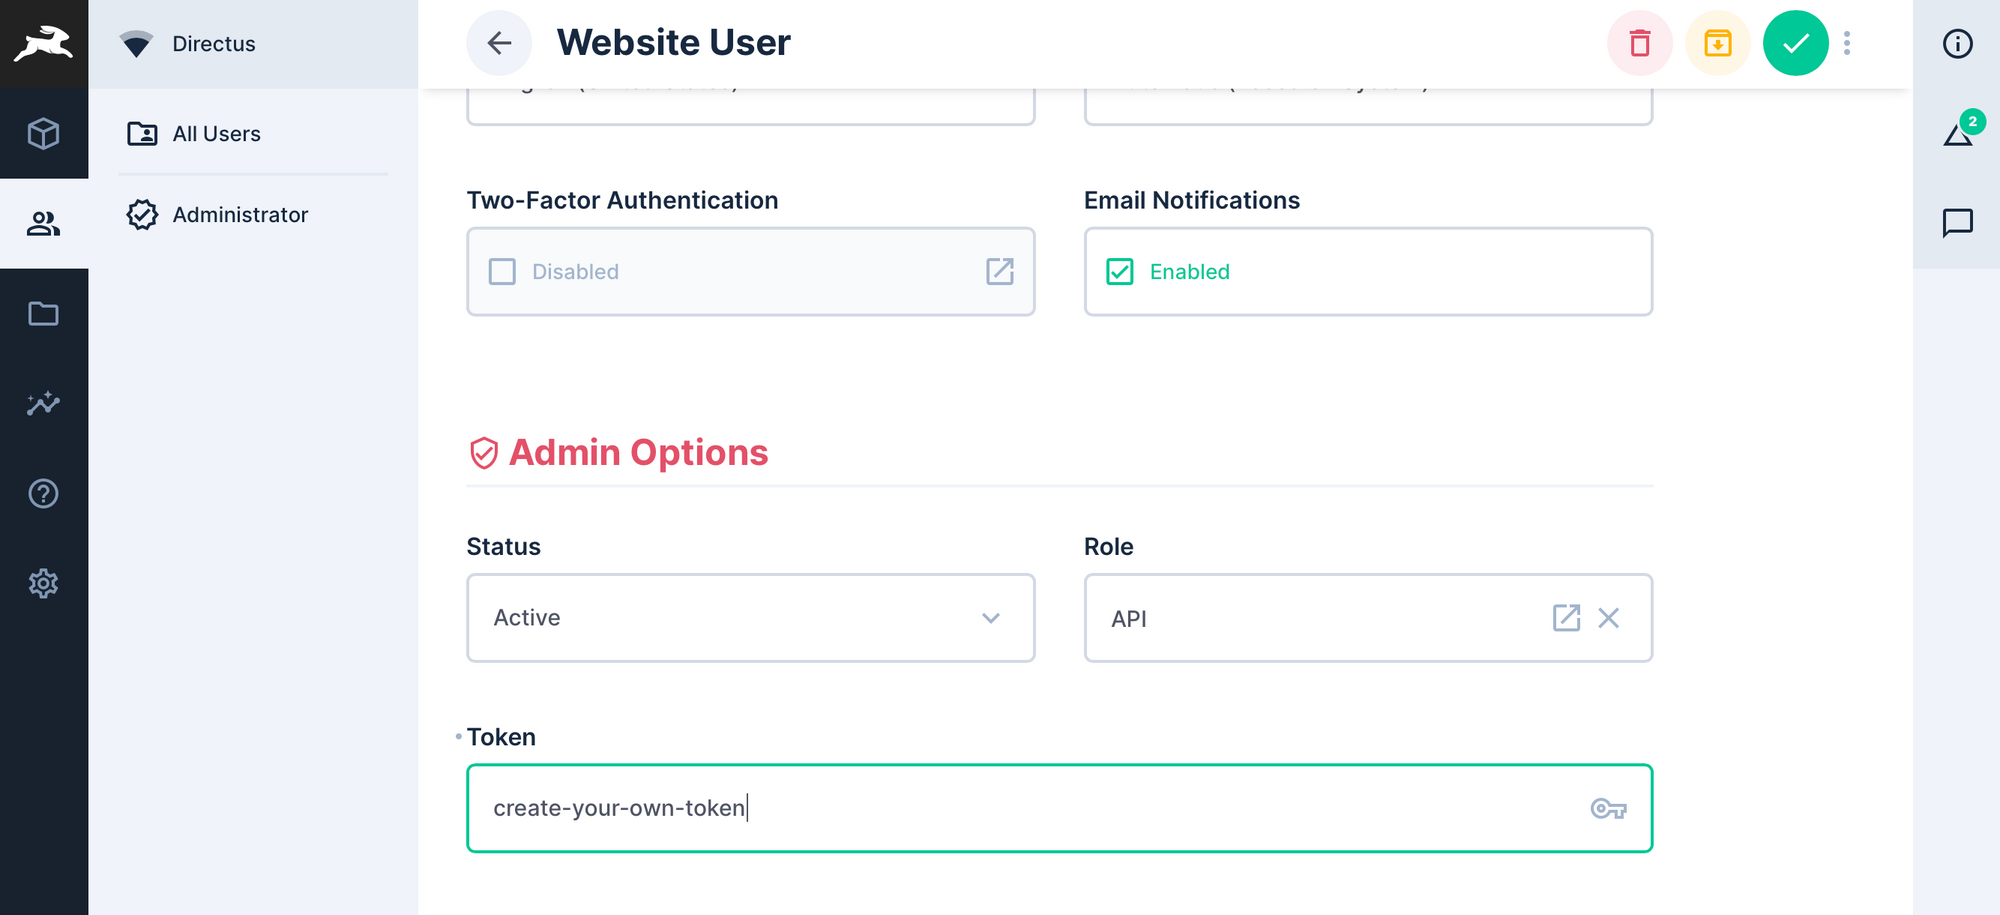
Next, create a new User and assign the new role to this user. Lastly, down the bottom, set a Token for this user. This is the Bearer Token used for API calls.
Conclusion
Directus is a very powerful application and it is important to start on the right foot. Completing these steps will ensure you can run Directus from your own domain name, recieve important emails such as the password reset tokens and lastly, utilise the API.